
by Bob Gibson, Photography Instructor at Lighthouse ArtGallery, Tequesta, Florida.
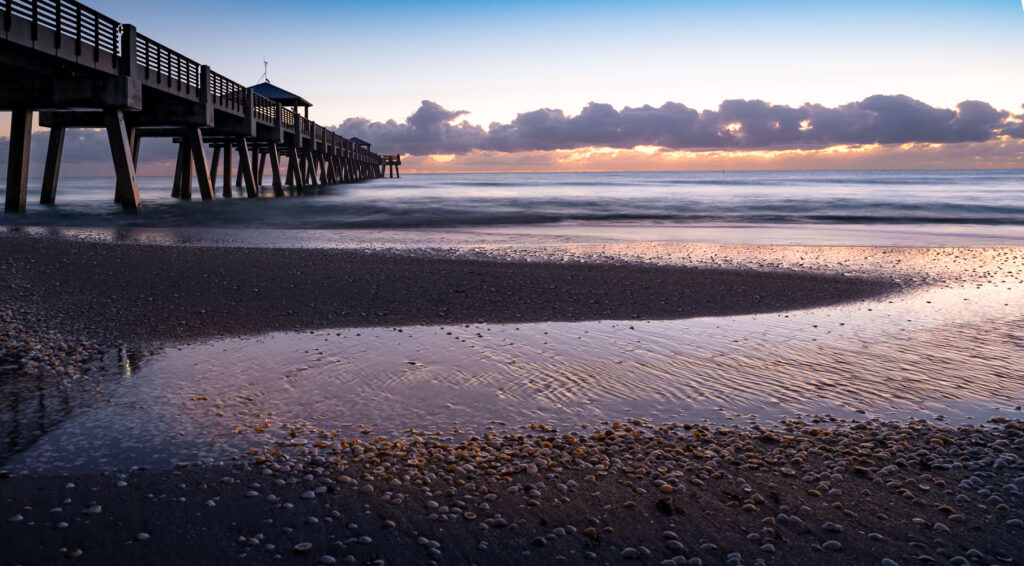
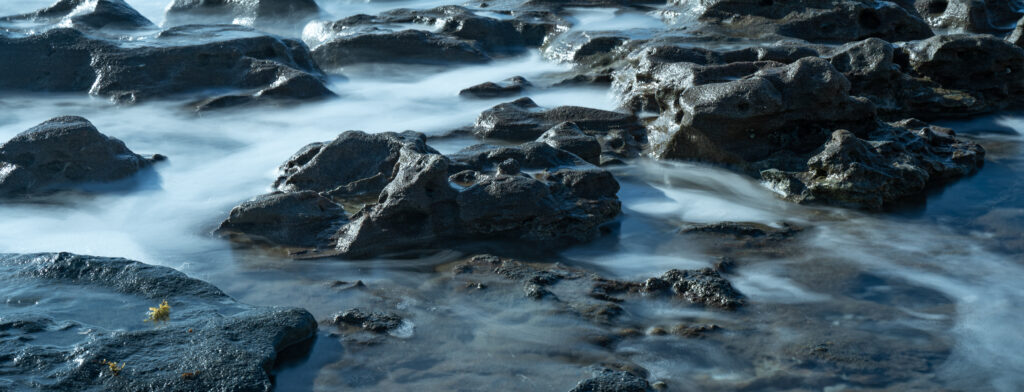
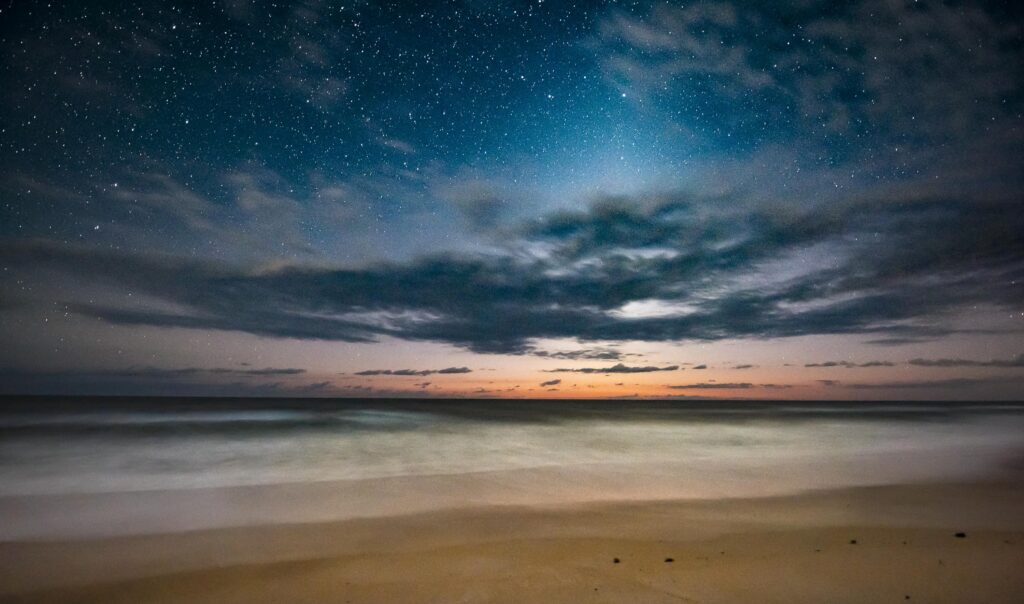
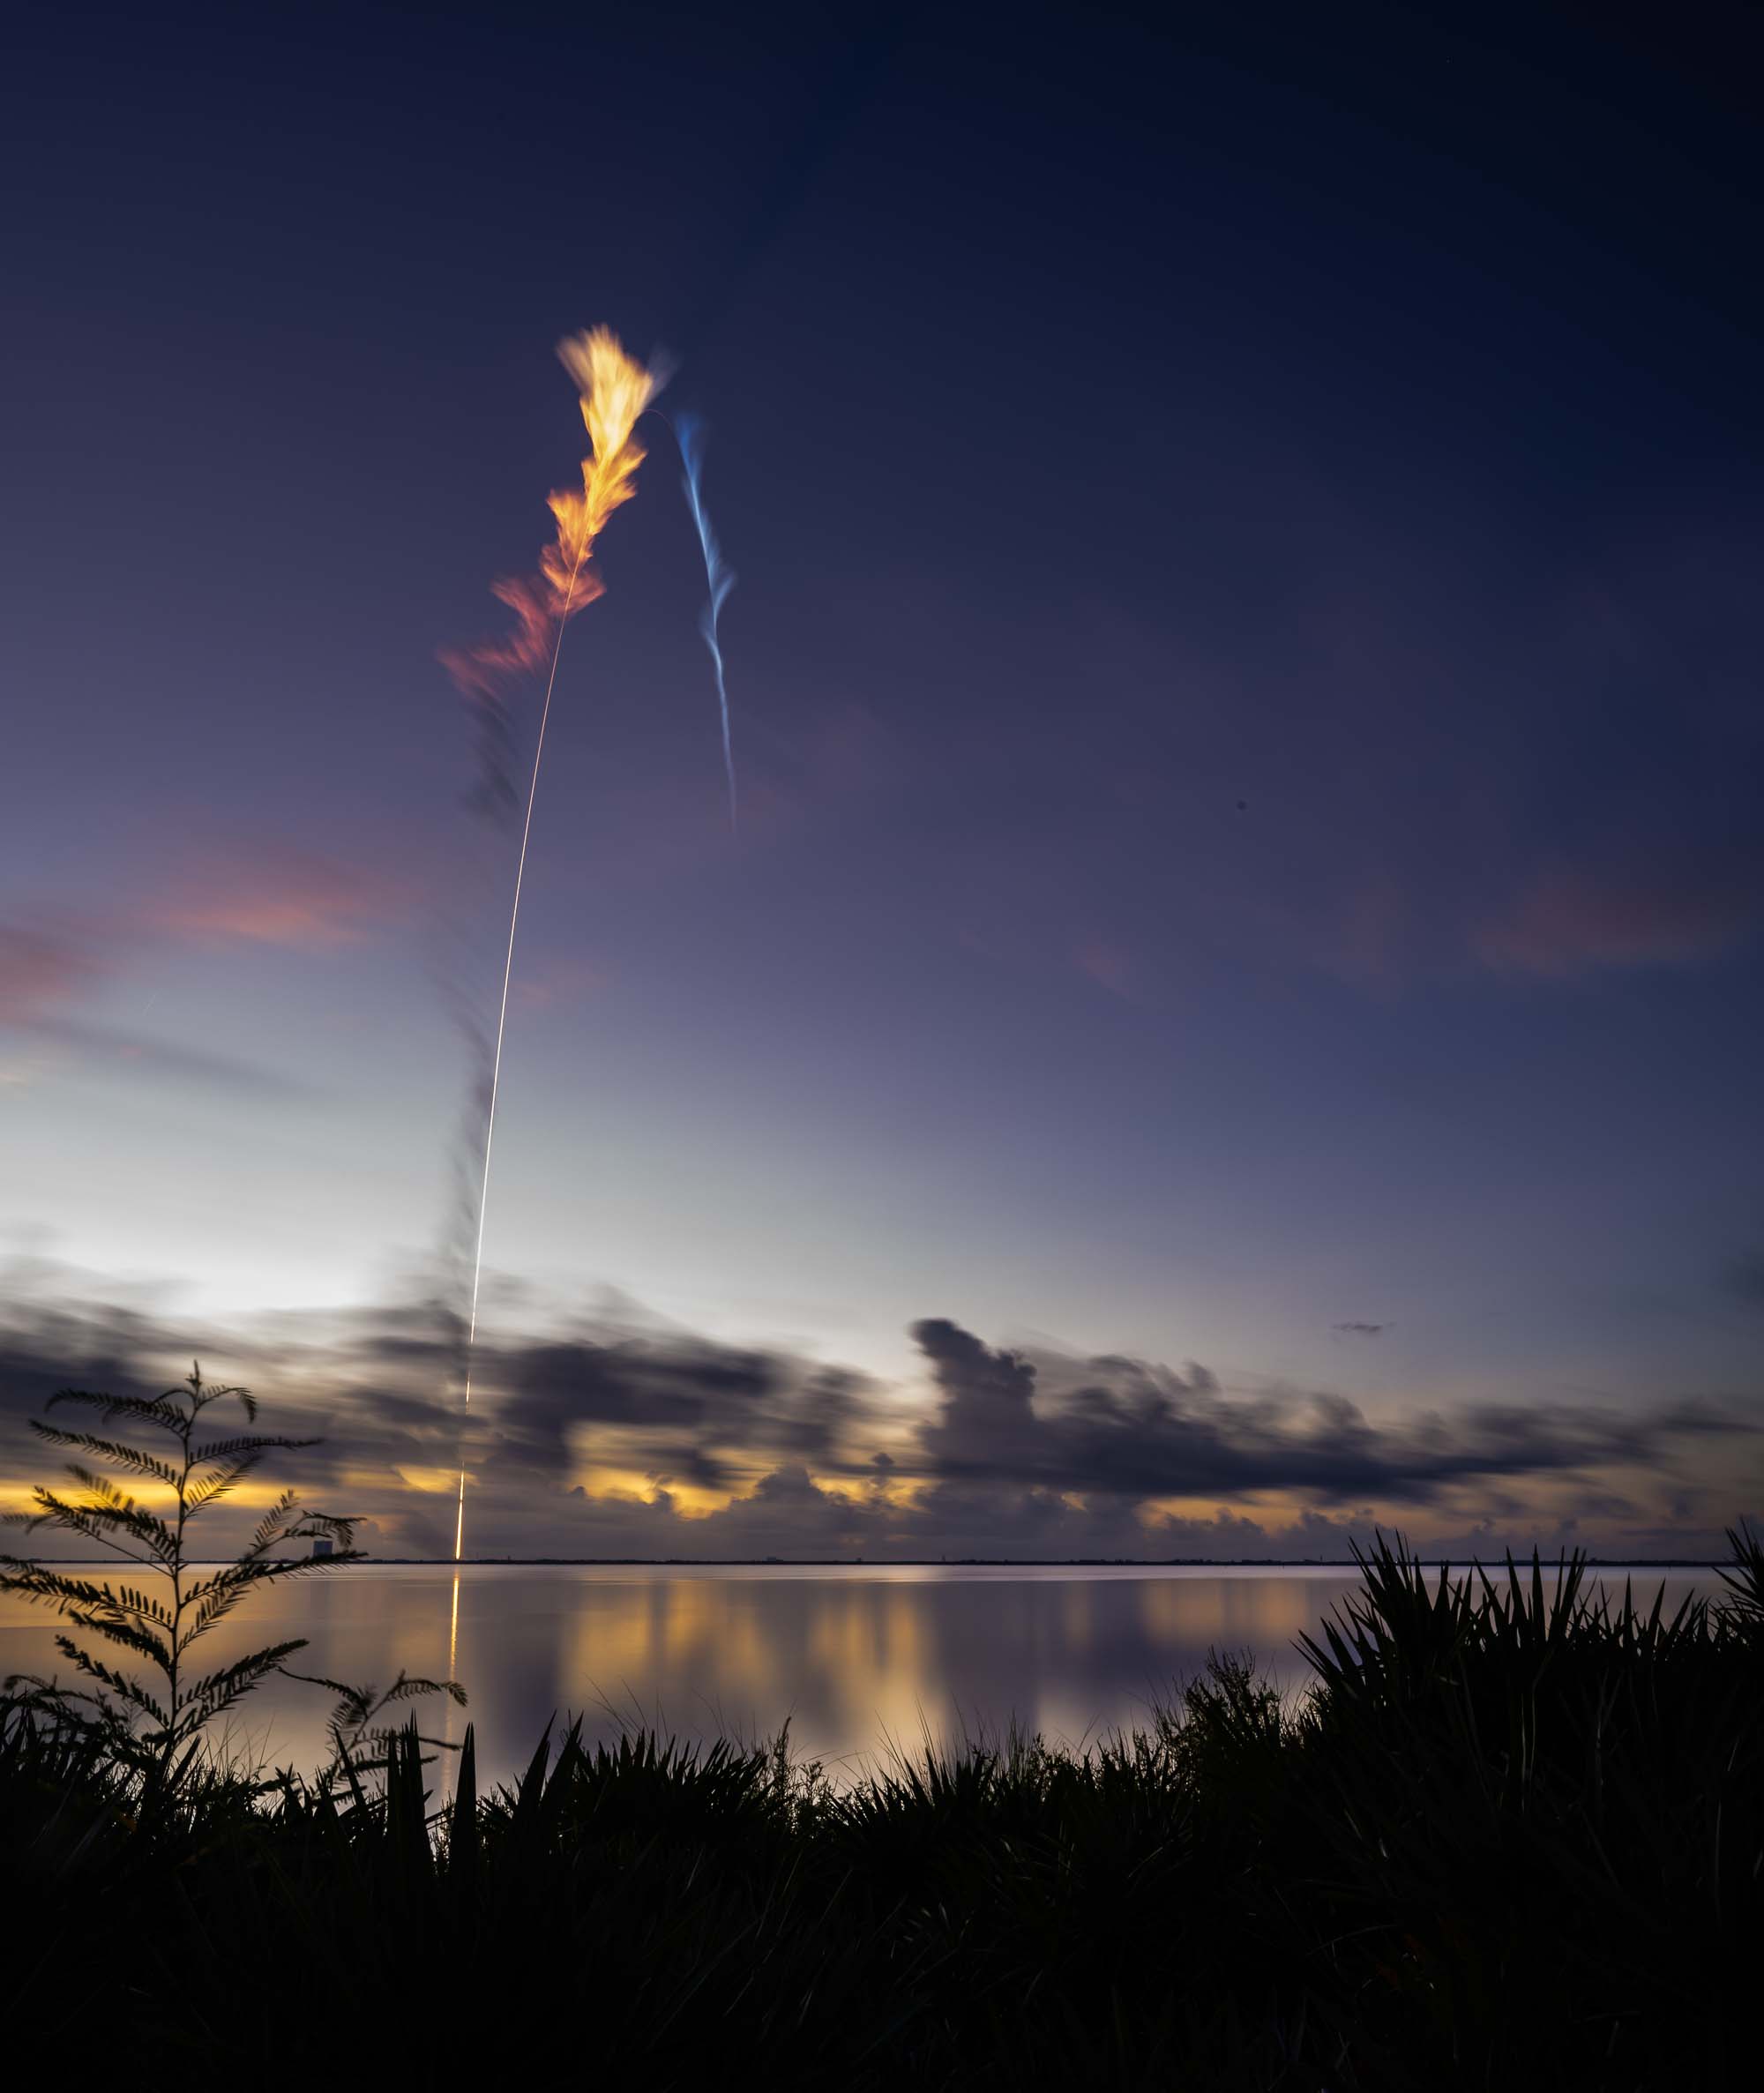
The photographic technique that elevates a great landscape capture is the slow shutter effect. A slow shutter illustrates motion and creates a result that is truly fine art.
Slow shutter images are dramatic. They capture eyes, win contests and are chosen by gallery curators!
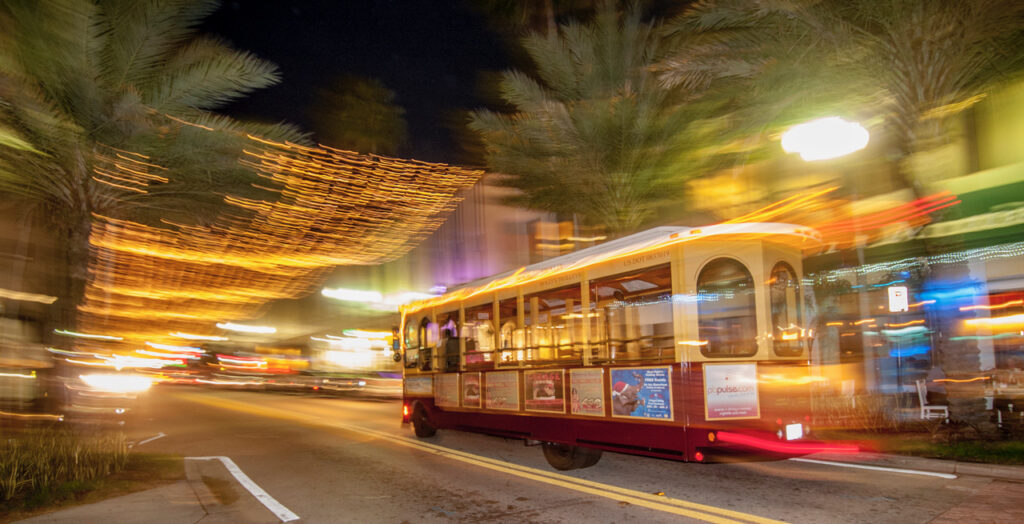
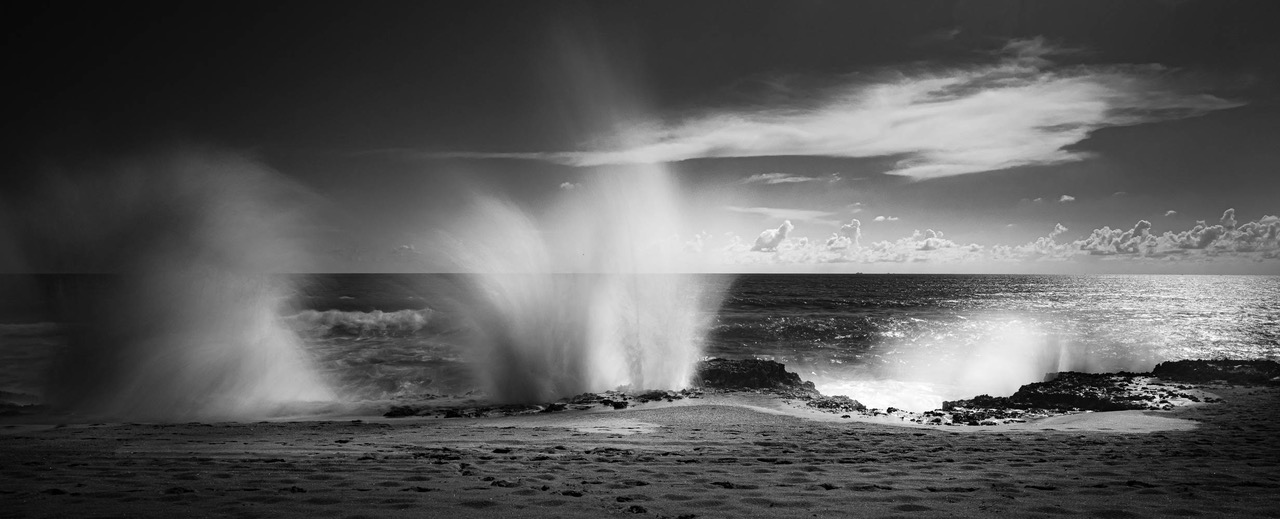
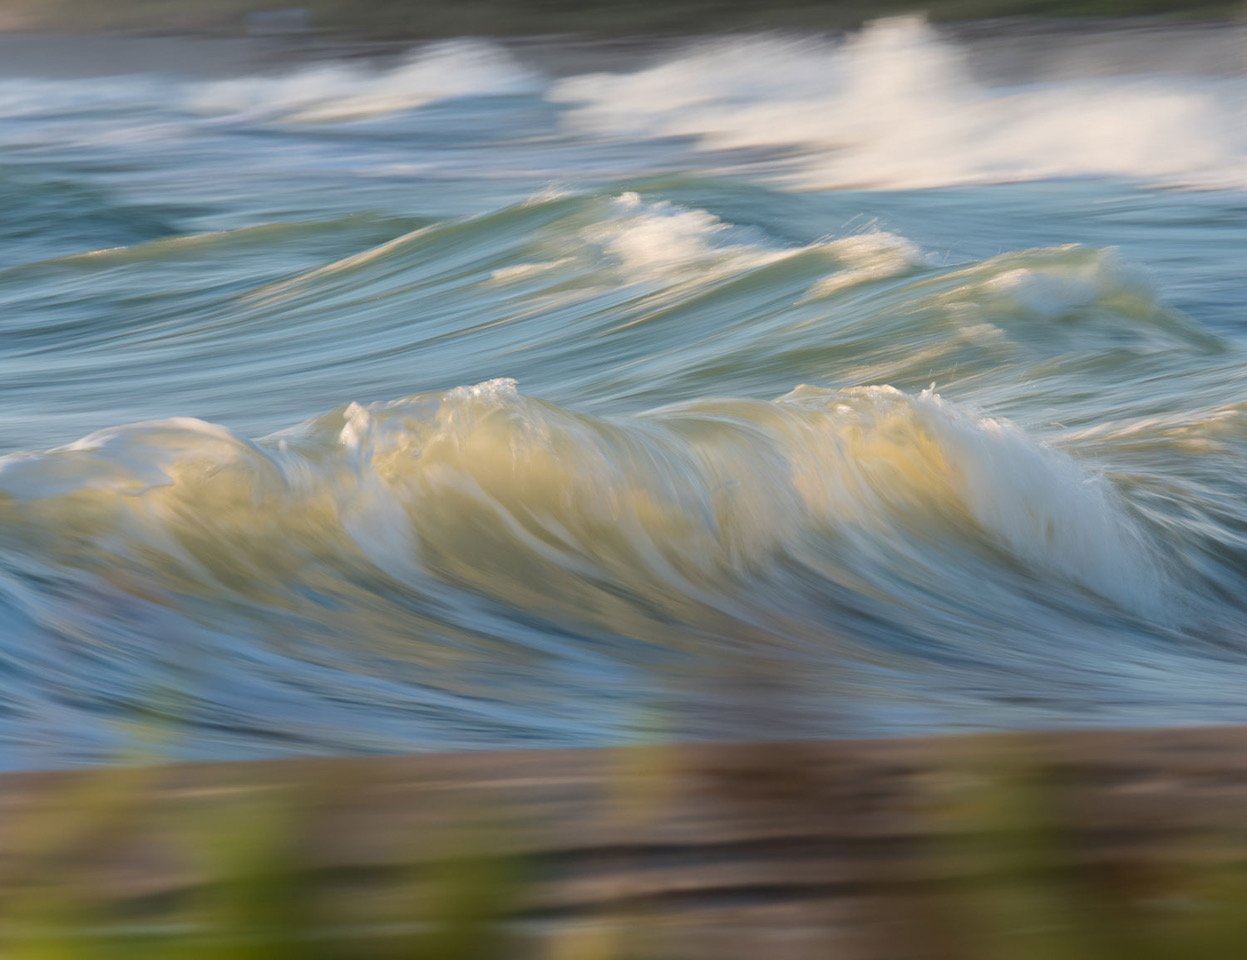
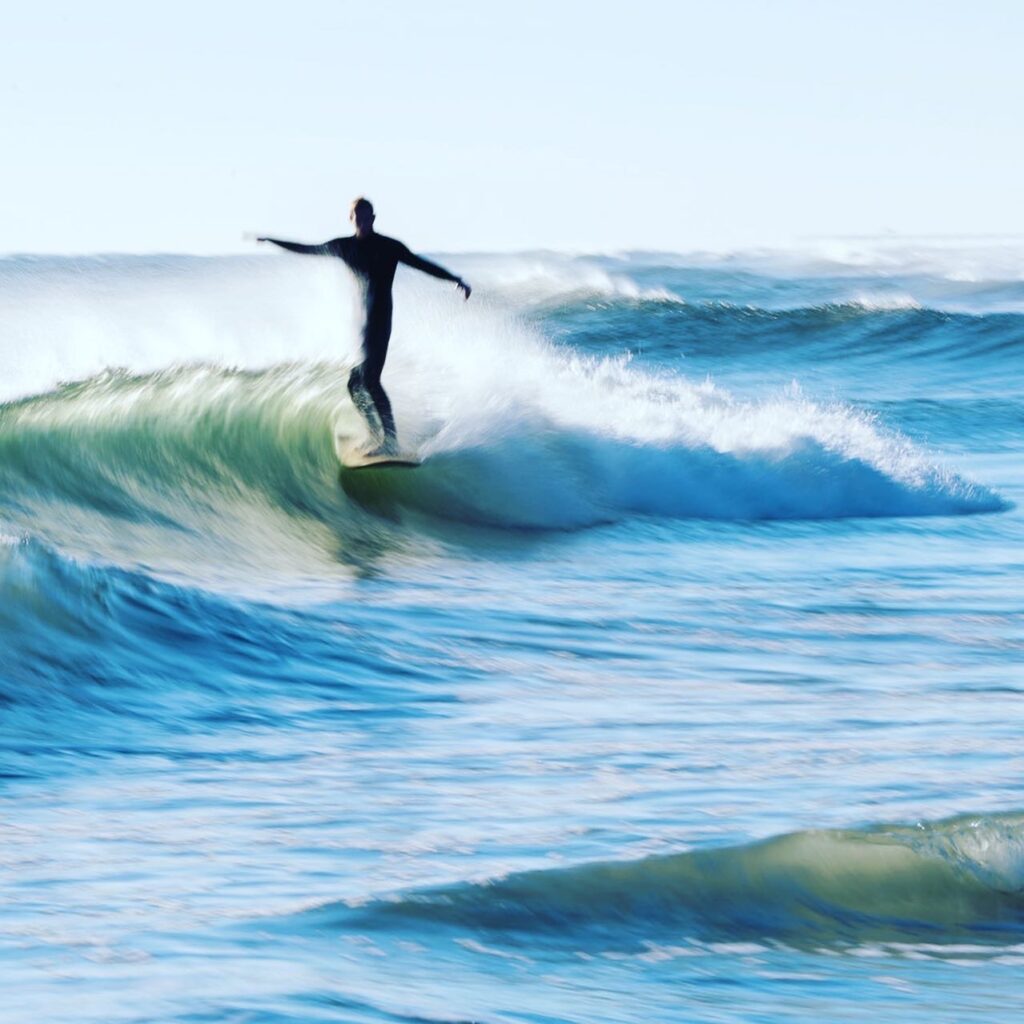
With these instructions and a few practice tries, your beach scene can feature wonderfully blurred whitewater; your waterfall images will turn heads, your outdoor portraits will stand out from skies of moving clouds, and your night cityscapes can feature headlight trails.
To take these kinds of images, you will need two pieces of equipment: a tripod to keep the camera steady, and (for days shots) a neutral density filter to reduce the light entering the lens.
Success also requires the ability to shoot in manual mode, and manual focus.
Let’s start with focusing manually. Dial in a high F-stop, F16 or above. Now, simply turn the switch on the lens from A to M and turn on the camera’s live view. Compose your frame, choose a foreground object 1/3 of the way from the bottom of the frame and zoom into it by using the “plus sign”+ button on your camera back. A object with a hard edge like a fence, boulder, tree, etc makes a good target for focusing easily.
Now, the fun part. Slow down your shutter speed to 1/20 of the second to 30 seconds.
Make sure your ISO is at its lowest setting.
Blurring traffic lights takes about 20 to 30 seconds. Blurring the breaking waves prior to sunrise takes an exposure of 1-10 seconds. Experiment with different speeds, the longer the shutter is open, the more “abstract” your ocean or sky will become. You will not need a neutral density filter at night or in the blue hours.
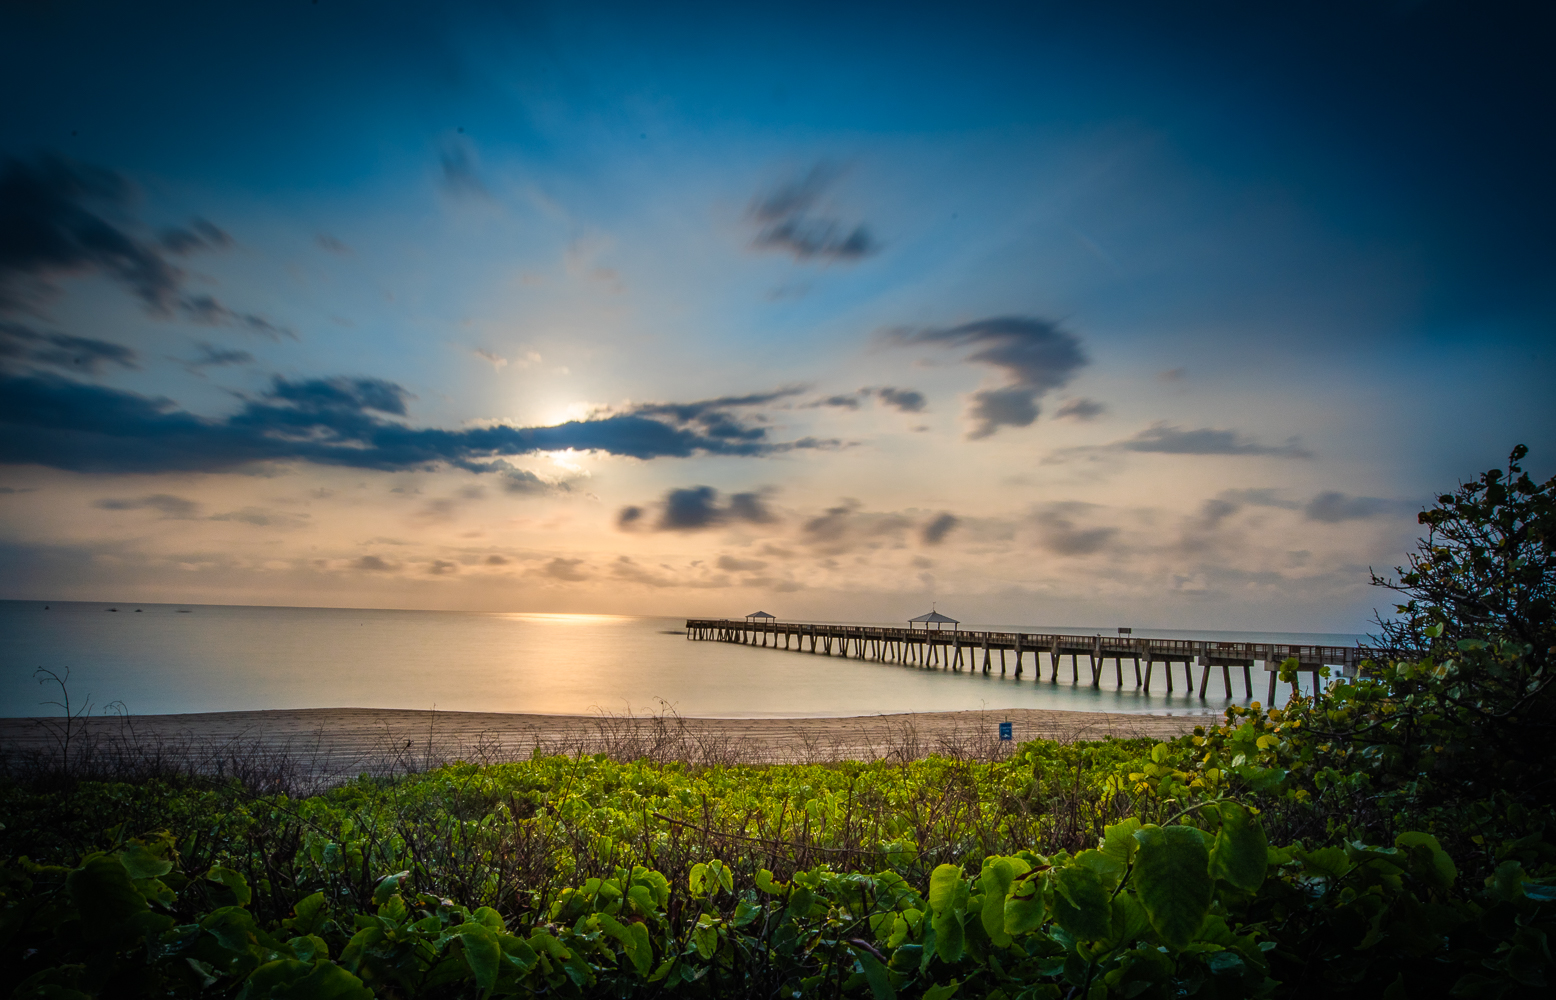
However, after sunrise and during the day, you will need a neutral density filter over your lens to be able to get a good exposure. These filters are available in various shades of darkening. (From 1 stop (very little darkening) to 10 stops (very dark)
If you had to pick one only, I would recommend a 6-stop filter. The screw-in kind will cost from $30 to $60 and works great.

Experts who make this a major part of their process, prefer the filter holder that takes “slip in squares” neutral density filters, graduated filters, color enhancing filters and others. This is the $200 to $300 option–but not necessary for exceptional photos. AA
Keep in mind, that the camera cannot move at any time during the exposure. On a windy day, you must put weights on your tripod. (Hang your camera bag from the clip located beneath your tripod head). To trigger the shutter, set your self-timer to a 2 second delay, or if you wish to precisely time the waves, use a remote shutter release. I use the self-timer delay method as it eliminates the additional equipment that must be fumbled with in the dark.
Like any activity worth doing, it may take many attempts to achieve excellent results, but when you do—you will have created a unique and memorable piece of art!


Bob Gibson, a Nikon Professional Services Member, is Photography Instructor at Lighthouse ArtGallery, Tequesta, Florida. http://www.lighthousearts.org